
In the rapidly evolving landscape of mobile operating systems, the interface design plays a crucial role in defining the user experience. Android has undergone significant changes over the years, particularly regarding how users interact with their devices. One of the most transformative updates involves the transition from traditional navigation buttons to a more fluid and immersive gesture-based system. This comprehensive guide will walk you through the process of enabling and using Android’s gesture navigation, ensuring you maximize the potential of your device’s screen real estate and interaction flow.
Understanding the shift from buttons to gestures is essential for any modern Android user. The removal of the physical or on-screen navigation bar allows for more content to be displayed without obstruction. This means apps, games, and media can utilize the full height of the display, creating a more engaging environment. The gesture system relies on intuitive swipes and holds that mimic natural hand movements, making the learning curve relatively gentle for most users. By mastering these controls, you can navigate your device with speed and efficiency, streamlining your daily digital interactions.
🚀 Overview of Gesture Navigation Evolution
The journey of Android navigation began with the introduction of the capacitive buttons, which eventually gave way to the on-screen navigation bar. This bar typically included three distinct icons: back, home, and recent apps. While functional, these buttons occupied valuable screen space that could otherwise be used for content. Recognizing this limitation, Google introduced gesture navigation as a standard feature starting with Android Pie, and it has since become the default method on most new devices.
The evolution was driven by the need for a cleaner interface that aligns with the design trends of modern applications. Developers often design their apps to be gesture-friendly, allowing for swiping actions within the app itself. By standardizing the navigation gestures, Android creates a consistent experience across different manufacturers and models. This consistency reduces user confusion and ensures that the learning process is uniform regardless of the device brand. The gesture system is designed to be responsive and fluid, utilizing the touch display’s sensitivity to detect swipes with high precision.
For those transitioning from older devices or iOS devices, the adjustment period can vary. However, the benefits of a cleaner interface and increased productivity often outweigh the initial learning curve. As devices continue to adopt edge-to-edge displays, gesture navigation becomes not just a preference but a necessity for optimal usage. The system adapts to different screen sizes, ensuring that the gestures remain accessible on both smartphones and foldable devices.
🔍 Technical Analysis of Gesture Mechanics
At a technical level, gesture navigation relies on a set of predefined touch input patterns that the system interprets as commands. These patterns are processed by the Android System UI service, which manages the overlay of navigation controls and handles the input events from the touchscreen. The system distinguishes between different swipe directions and durations to trigger specific actions. For instance, a quick swipe up from the bottom center triggers the home action, while a swipe from the left or right edge initiates the back action.
- The system monitors the touch coordinates to determine the starting and ending points of a gesture.li>Directional vectors are calculated to identify horizontal versus vertical movements.li>Duration timers measure the length of the touch hold to differentiate between swipes and long presses.li>Context awareness ensures the gesture only triggers when appropriate, such as not blocking app-specific gestures.li>Feedback mechanisms, including haptic vibrations and visual cues, confirm the action was received by the system.
This architecture allows for a high degree of customization and responsiveness. Manufacturers can tweak the sensitivity and timing of these gestures through their custom skin layers, such as One UI, MIUI, or Pixel UI. This flexibility ensures that the navigation feels natural on different hardware configurations. The system also supports edge gestures, which are particularly useful on devices with curved screens. These gestures allow users to access the back function without needing to navigate to the side edge of the display.
The underlying code manages the interaction between the gesture service and the application layer. When a gesture is recognized, the System UI sends a signal to the currently active application or the Android Launcher. This ensures that the navigation action is handled correctly, whether it involves minimizing an app, returning to a previous screen, or switching tasks. The efficiency of this process contributes to the smoothness of the overall user experience, with minimal latency between the touch input and the visual response.
🛠️ Step-by-Step Enablement Guide
Enabling gesture navigation is a straightforward process that involves accessing the settings menu on your Android device. The exact path may vary slightly depending on the manufacturer and the specific version of Android you are running. However, the general procedure remains consistent across most devices. Follow the detailed steps below to activate this feature and begin utilizing the full potential of your screen.
📱 Accessing Display Settings
First, unlock your device and navigate to the main Home screen. Locate and tap on the Settings application, which is typically represented by a gear icon. Once inside Settings, scroll down to find the Display or System section. On some devices, you may need to look under the System heading first. Within the Display settings, look for an option labeled Navigation Bar, Navigation Gestures, or System Navigation.
Once you have located the navigation settings, you will see a list of available options. You will typically see choices such as Buttons, Gesture Navigation, or a combination of both. Select Gesture Navigation or Swipe Gestures to enable the full-screen experience. Some devices may offer a split mode where buttons are used for navigation but gestures are available for specific actions. Ensure that the primary navigation mode is set to gestures for the intended full-screen layout.
🔄 Confirming the Switch
After selecting the gesture option, the system may prompt you to confirm the change. This is a safety measure to ensure you understand the new navigation method. Read the on-screen instructions carefully, as they will show you the basic gestures required. Most devices provide a short tutorial or a preview screen that demonstrates the swipes. Tap on the Confirm or Enable button to proceed. The navigation bar at the bottom of the screen should disappear, leaving only a small line or indicator at the bottom edge.
If you encounter any issues during the switch, such as the screen becoming unresponsive to gestures, you can revert to the previous settings easily. Simply repeat the steps to access the settings menu and select the Buttons option instead. This ensures that you are never locked out of basic navigation functions. It is always recommended to test the gestures briefly in a safe environment before relying on them for critical tasks.
🎯 Mastering Gesture Controls
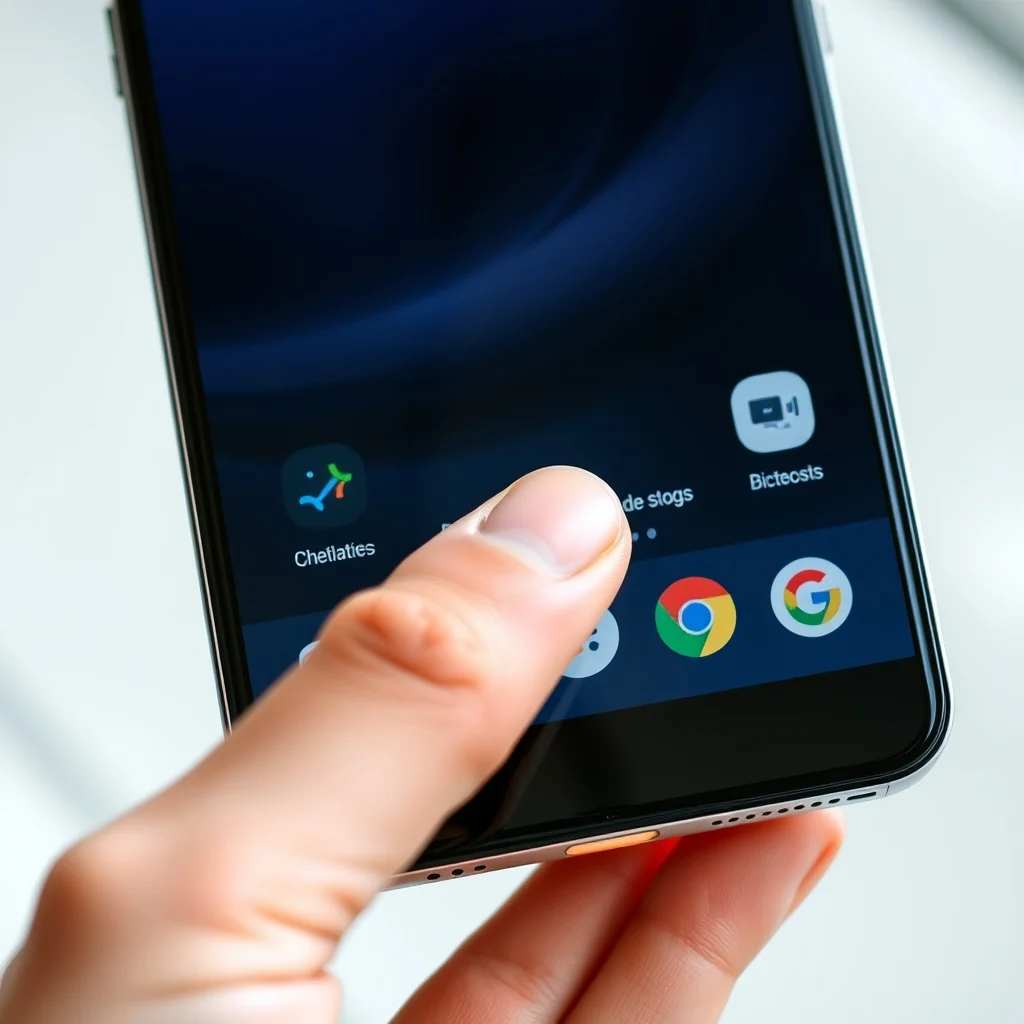
Once gesture navigation is enabled, understanding the specific movements is crucial for efficient use. The system relies on a few core gestures that cover all navigation needs. These include swiping up, swiping from the edges, and holding the bottom line. Each gesture corresponds to a specific function, allowing you to move between apps, return to the home screen, and access recent tasks without touching any buttons.
- Swipe Up from Bottom: This action takes you directly to the Home screen from any app or screen.
- Swipe Up and Hold: Holding the swipe up gesture opens the Overview or Recent Apps screen, allowing you to see all open applications.
- Swipe from Left Edge: A swipe starting from the left edge of the screen typically triggers the Back action, returning you to the previous screen.
- Swipe from Right Edge: Swiping from the right edge also triggers the Back action on most devices, offering flexibility based on hand dominance.
- Corner Swipes: Some devices allow for swipes from the bottom corners, which can be customized for specific actions like opening the App Drawer or toggling the keyboard.
These gestures are designed to be fluid and intuitive, but they require muscle memory to execute consistently. Practice using the swipes in a low-stakes environment, such as while browsing the web or scrolling through photos. This will help you build the reflexes needed to navigate quickly without looking at the bottom of the screen. Over time, the gestures will become second nature, allowing you to focus entirely on the content you are viewing.
It is also worth noting that some applications may override standard gestures for their own functionality. For example, a game might use a swipe to change weapons, and a reading app might use a swipe to turn pages. The gesture navigation system is designed to prioritize these app-specific gestures when a swipe is detected within the app’s content area. Navigation gestures are reserved for the edges and bottom of the screen when not interacting with content.
📊 Comparative Analysis: Buttons vs. Gestures
Choosing between navigation buttons and gestures is a matter of personal preference and usage style. Each method has its advantages and disadvantages that affect different types of users. Understanding these differences can help you decide which method suits your workflow best.
| Feature | Gesture Navigation | Navigation Buttons |
|---|---|---|
| Screen Real Estate | Maximum visibility | Occupies bottom space |
| Learning Curve | Requires practice | Immediate familiarity |
| One-Handed Use | Challenging on tall screens | Easier to reach |
| Customization | High flexibility | Fixed layout |
| Cognitive Load | Lower after mastery | Always visible cues |
After reviewing the table, it is clear that gesture navigation excels in maximizing screen space. For users who consume a lot of media, play games, or read, the extra vertical inches can significantly enhance the experience. The lack of physical buttons reduces clutter and allows for a more modern aesthetic. However, for users who prefer tactile feedback or have difficulty with precise swipe movements, the buttons may be more comfortable.
The choice also impacts how you interact with apps. Gesture navigation encourages a more immersive experience where the app content is the primary focus. Buttons can sometimes distract from the content by occupying visual space. Ultimately, the decision depends on your individual comfort level and the specific tasks you perform most often on your device.
🛡️ Troubleshooting Common Issues
Even with a robust system, users may encounter issues when enabling gesture navigation. These problems can range from unresponsive swipes to accidental triggers. Identifying the root cause and applying the correct fix can restore smooth functionality. Below are the most common problems and their solutions.
🔧 Unresponsive Swipes
If your swipes are not registering, check for screen protectors that may interfere with touch sensitivity. Thick glass or plastic films can dampen the touch signal, making gestures difficult to detect. Try removing the protector or replacing it with a thinner, high-quality version. Additionally, ensure your screen is clean and dry, as moisture and oil can disrupt touch input.
🔄 Accidental Back Swipes
Many users report accidentally triggering the back function while reaching for the bottom of the screen. This is often due to the sensitivity of the edge gestures. To fix this, go to the navigation settings and adjust the swipe sensitivity. Lowering the sensitivity requires a more deliberate swipe from the edge, reducing accidental triggers. Some devices also allow you to disable the back gesture entirely if you prefer to use a different method.
📱 Incompatibility with Specific Apps
Some older applications may not fully support gesture navigation, leading to visual glitches or navigation errors. In these cases, you may need to use the on-screen buttons temporarily. Check for app updates from the Play Store, as developers often release patches to improve gesture compatibility. If the issue persists, you can switch to the button navigation mode for that specific app if your device supports per-app settings.
✅ Advantages and Disadvantages
Before committing to gesture navigation, it is helpful to weigh the pros and cons. This section provides an honest assessment of the benefits and drawbacks to help you make an informed decision.
🌟 Key Advantages
The primary benefit is the increased screen real estate. This allows for more content to be displayed without obscuring the view. It also provides a cleaner, more modern look that aligns with current design trends. The gestures are generally faster to execute once learned, allowing for quicker navigation between apps. Furthermore, the system is highly customizable, enabling users to adjust settings to fit their hand size and usage habits.
- Increased Screen Space: More room for content and media.
- Modern Aesthetic: Cleaner interface without visible buttons.
- Speed: Faster navigation once muscle memory is established.
- Customization: Adjustable sensitivity and gesture options.
⚠️ Potential Drawbacks
The main disadvantage is the learning curve. New users may find it confusing at first, especially if they are used to buttons. It can also be more difficult to navigate on very tall devices with one hand. There is also a risk of accidental triggers if the sensitivity is too high. Additionally, some older apps may not behave correctly with gesture navigation enabled.
- Learning Curve: Requires time to master the movements.
- One-Handed Use: Can be challenging on large screens.
- Accidental Triggers: Risk of unintended back actions.
- App Compatibility: Some older apps may have issues.
❓ Frequently Asked Questions
Below are answers to the most common questions regarding gesture navigation on Android devices.
- Is gesture navigation available on all Android devices? Gesture navigation is supported on most devices running Android 10 or later. Older devices may not have the feature enabled by default, but it can often be added through developer options or system updates.
- Can I customize the gesture sensitivity? Yes, most Android devices allow you to adjust the sensitivity of the gestures in the navigation settings menu. This helps prevent accidental triggers and improves responsiveness.
- What happens if I accidentally swipe back? If you swipe back accidentally, you can simply use the gesture to open the Recent Apps screen and reopen the app you intended to use. The system keeps track of your recent activities for quick recovery.
- Does gesture navigation work with accessibility features? Yes, gesture navigation is compatible with most accessibility features, including TalkBack and Switch Access. However, some features may require specific configurations to work seamlessly.
- Can I switch back to buttons at any time? Absolutely. You can switch between gesture navigation and on-screen buttons at any time through the Settings menu without losing any data or settings.
- How do I access the App Drawer with gestures? On most devices, swiping up from the bottom line and holding opens the Recent Apps. To access the App Drawer, you can swipe up from the bottom line and then swipe up again, or use the dedicated gesture if enabled.
- Is gesture navigation better for gaming? Gesture navigation is generally better for gaming as it removes the obstruction of buttons, allowing for a full-screen view. However, some games may conflict with the edge gestures.
- Why is my back gesture not working? Check if you have a screen protector covering the edge or if the gesture sensitivity is set too low. Also, ensure that the app you are using does not have its own gesture conflicts.
🏁 Final Verdict
Gesture navigation represents a significant step forward in Android user interface design. It offers a cleaner, more immersive experience that maximizes the potential of modern hardware. While there is a learning curve, the benefits of increased screen space and a more fluid interaction flow make it a worthwhile investment for most users. By following the steps outlined in this guide, you can seamlessly integrate gesture navigation into your daily routine.
We strongly recommend enabling gesture navigation if your device supports it. The adjustment period is short, and the long-term benefits are substantial. Whether you are a power user or a casual consumer, the gesture system provides a versatile and efficient way to navigate your device. Embrace the change and enjoy the full capabilities of your Android smartphone.